Using VS Code, GitHub, and AMP Code for technical writing on macOS
Congratulations, you've booted up your MacBook and you're excited to do some technical writing. This guide will show you how to configure a basic environment with: VS Code — for editing Markdown files and creating code examples, GitHub — for storing files and tracking changes, and AMP Code — for that sweet AI Overlord oversight. This guide does not require the reader to have any prior knowledge of these tools.
VS Code
Microsoft's VS Code is a powerful IDE. But, what's really nice about it is that it installs as more of an advanced text editor and all its extended functionality, like support for various programming languages, is added optionally by the user using extensions. This allows it to be relatively lightweight compared to other mainstream IDEs.
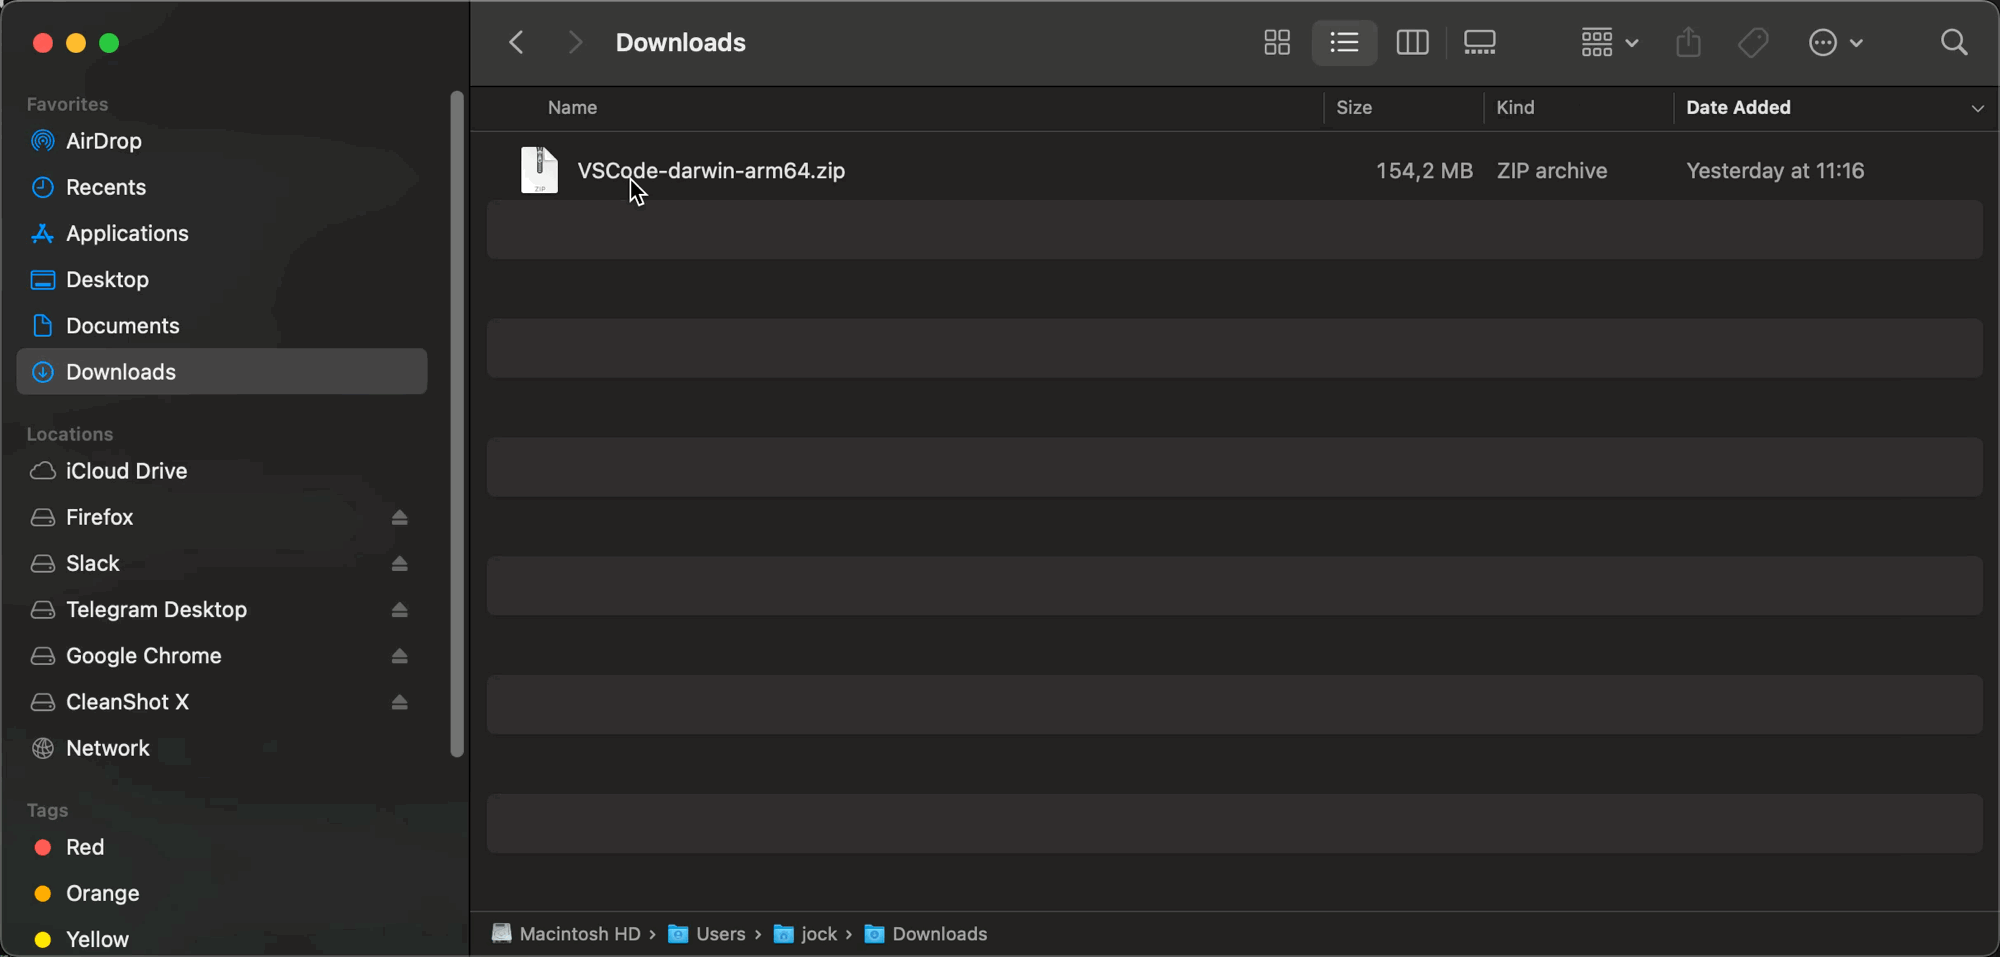
To install VS Code on Mac, head to this link. This should automatically start the download for the ARM64 package that can run natively on Apple Silicon chips. It will download as a .zip file containing the VS Code application. Once extracted, it can be dragged to the Applications folder and the installation is complete.
Now that VS Code is installed, you are ready to start editing Markdown documents. To get started, create or open a file with the file extension: .md. For a heading, you can start a new line with a # symbol and then type your heading. For example, # My new blog. You can then continue writing, enjoying the simplicity of Markdown syntax.
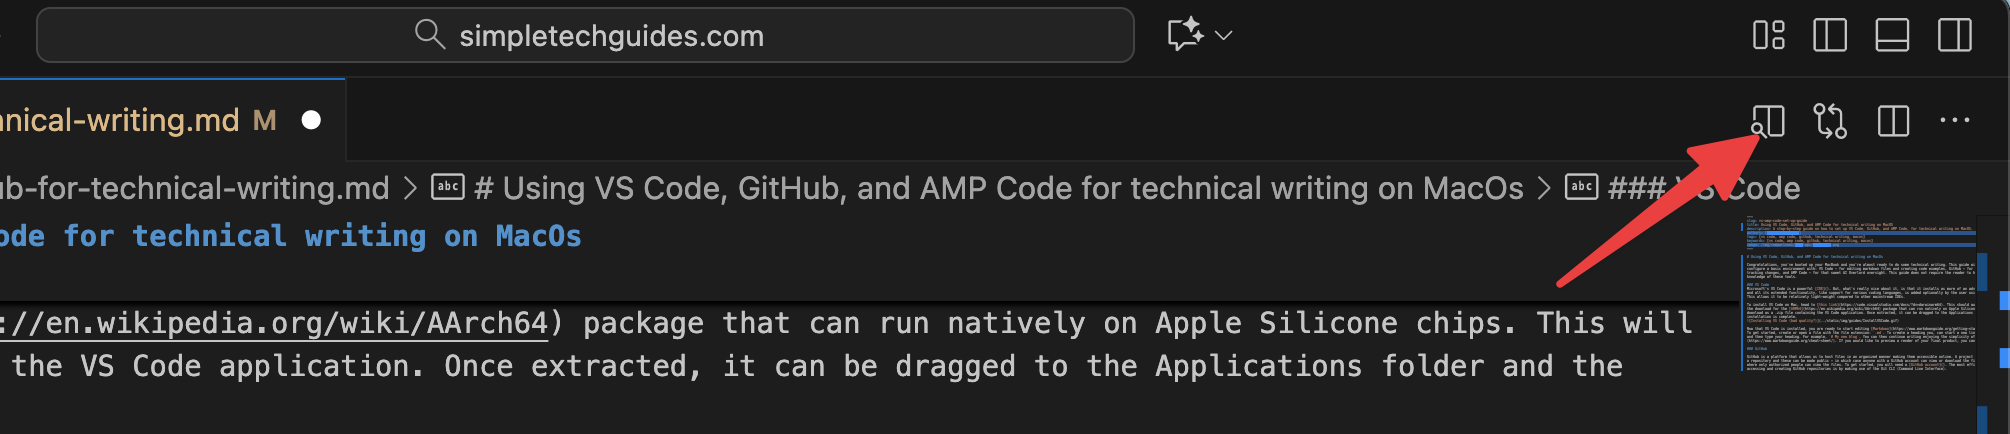
If you would like to preview a render of your final product, you can hit CMD + K V or press the preview button at the top right of the window.
GitHub
GitHub is a platform that allows you to host files in an organized manner making them accessible online. A project on GitHub is called a repository and these can be made public — in which case anyone with a GitHub account can view or download the files, or private — where only authorized people can view the files.
To get started, click here to create a GitHub account. The most efficient way of accessing GitHub repositories is by making use of Git. Git is a Command-Line Interface (CLI) that lets you manage files and track changes on your local computer and then push (or request to pull) those changes to GitHub. (Or any other online hosting services that support Git).
Git
To get started with Git — provided that you are on macOS Mavericks (10.9) or above — type: git into the terminal and hit enter. This will prompt you to install the necessary development tools.
In order to access GitHub repositories using Git you will need to link your local Git instance to your online GitHub account. The most robust way to do this is by creating an SSH key pair. GitHub already provides a detailed guide on how to create and add SSH keys, so this guide will provide the basic steps presented as simply as possible.
- Generate the key pair by running the following command in the Terminal:
ssh-keygen -t ed25519 -C "your_email@example.com".- Replace "your_email@example.com" with the email that is associated with your GitHub account.
- When prompted to enter a file name, skip by pressing
enter. - Enter a passphrase when prompted.
- Start the ssh-agent by running
eval "$(ssh-agent -s)"in the Terminal.- Check if you already have an
~/.ssh/configfile by running:$ open ~/.ssh/config. - If the file does not exist, create it with:
touch ~/.ssh/config. - Now edit the config file and add the following:
Host github.com
   AddKeysToAgent yes
   UseKeychain yes
IdentityFile ~/.ssh/id_ed25519 - Check if you already have an
- Add your private SSH key to the ssh agent with:
ssh-add --apple-use-keychain ~/.ssh/id_ed25519. This will also cause your passphrase to be stored on your Apple keychain so you won't have to enter it every time you want to use it.
This takes care of your private key. Next, you will need to add your public key to your GitHub profile:
- Copy your public key to your clipboard by running:
$ pbcopy < ~/.ssh/id_ed25519.pub. - Then find the GitHub setting called "SSH and GPG Keys" (or click here), and press "New SSH Key".
- Add a title for your key so you can easily identify which device it is associated with.
- Paste your key into the Key input box using
CMD + V. - Press "Add SSH Key".
You are now ready to access GitHub repositories using Git.
Simple Git to GitHub process
Git can be as simple or as powerful as you need it to be and a cheat-sheet for all the basic commands can be found here. The following steps show the basic process for adding a technical writing article to an existing repository.
-
Download a copy of the online repository to your local machine by running:
git clone ssh://git@github.com/<user>/<repository name>.gitin the terminal. This should be done with your terminal's current directory pointing to a location on your local machine where you want to keep your local files. -
This will create a folder in the current directory containing all the files from the repository. You can point your terminal to this new directory using
cd <repo name>. -
Create a branch of the working repository by running:
git checkout -b branch-name. (Replace 'branch-name' with a descriptive name that reflects the work you are planning to do.) -
Open VS Code and navigate to
File -> Open Folder...and select the folder that you created withgit clone. -
Right-click on the folder in VS Code, press
New File..., and add a descriptive name for your file. End it with the file extension.md. -
Click the new file to open it in VS Code and get to writing.
-
Write some more.
-
Back in your terminal run:
git add <name-of-new-file.md>. This will cause the changes to your new file to be tracked by Git. -
When you're happy with your changes, run:
git commit -m "a descriptive message about the changes you made". This will commit the changes to your current branch but no changes will be seen on the online repository yet. -
Now you can choose to make more changes and do more commits. This can be useful as your local Git will keep track of each commit you make and it becomes a "checkpoint" that you can return to if required.
-
Once you're happy with all your changes you can push your branch changes to the online repository by running
git push origin name-of-your-branch. This will provide you with a URL that you can use to create a pull request. The URL will look like:https://github.com/<repo owner>/<repo name>/pull/new/your-branch
GitHub pull request
The idea of creating a pull request is to ask the owner of the online repository to accept the changes that you've made to your local files. This gives the owner of the repository a chance to view your updated and accept, reject, or suggest changes, before they are merged.
-
Navigate to the URL that was provided by Git when you pushed your changes to the origin branch.
-
If you scroll down, you will be able to see all the commits you've performed as well as whatever changes you've made to files.
-
You can add another description at this point that will explain the changes you've made as a whole.
-
Now press "Create Pull Request".
-
It is now up to the owner of the repository to merge your changes. If you are the owner, you can go ahead and do it yourself. Otherwise, you will have to wait for those with authority to accept or reject your changes; or else explain nicely the manner in which your changes have personally offended them.
AMP Code
To limit offensive changes, it can be good to get the help of an AI agent. These days there are an abundance of options for agents. This guide will focus on setting up AMP Code; mainly because it has a decent ad-supported free tier.
AMP Code requires an account to use, create an account or sign-in here. You can then follow the installation instructions provided, but they are also summarized below.
AMP Code CLI
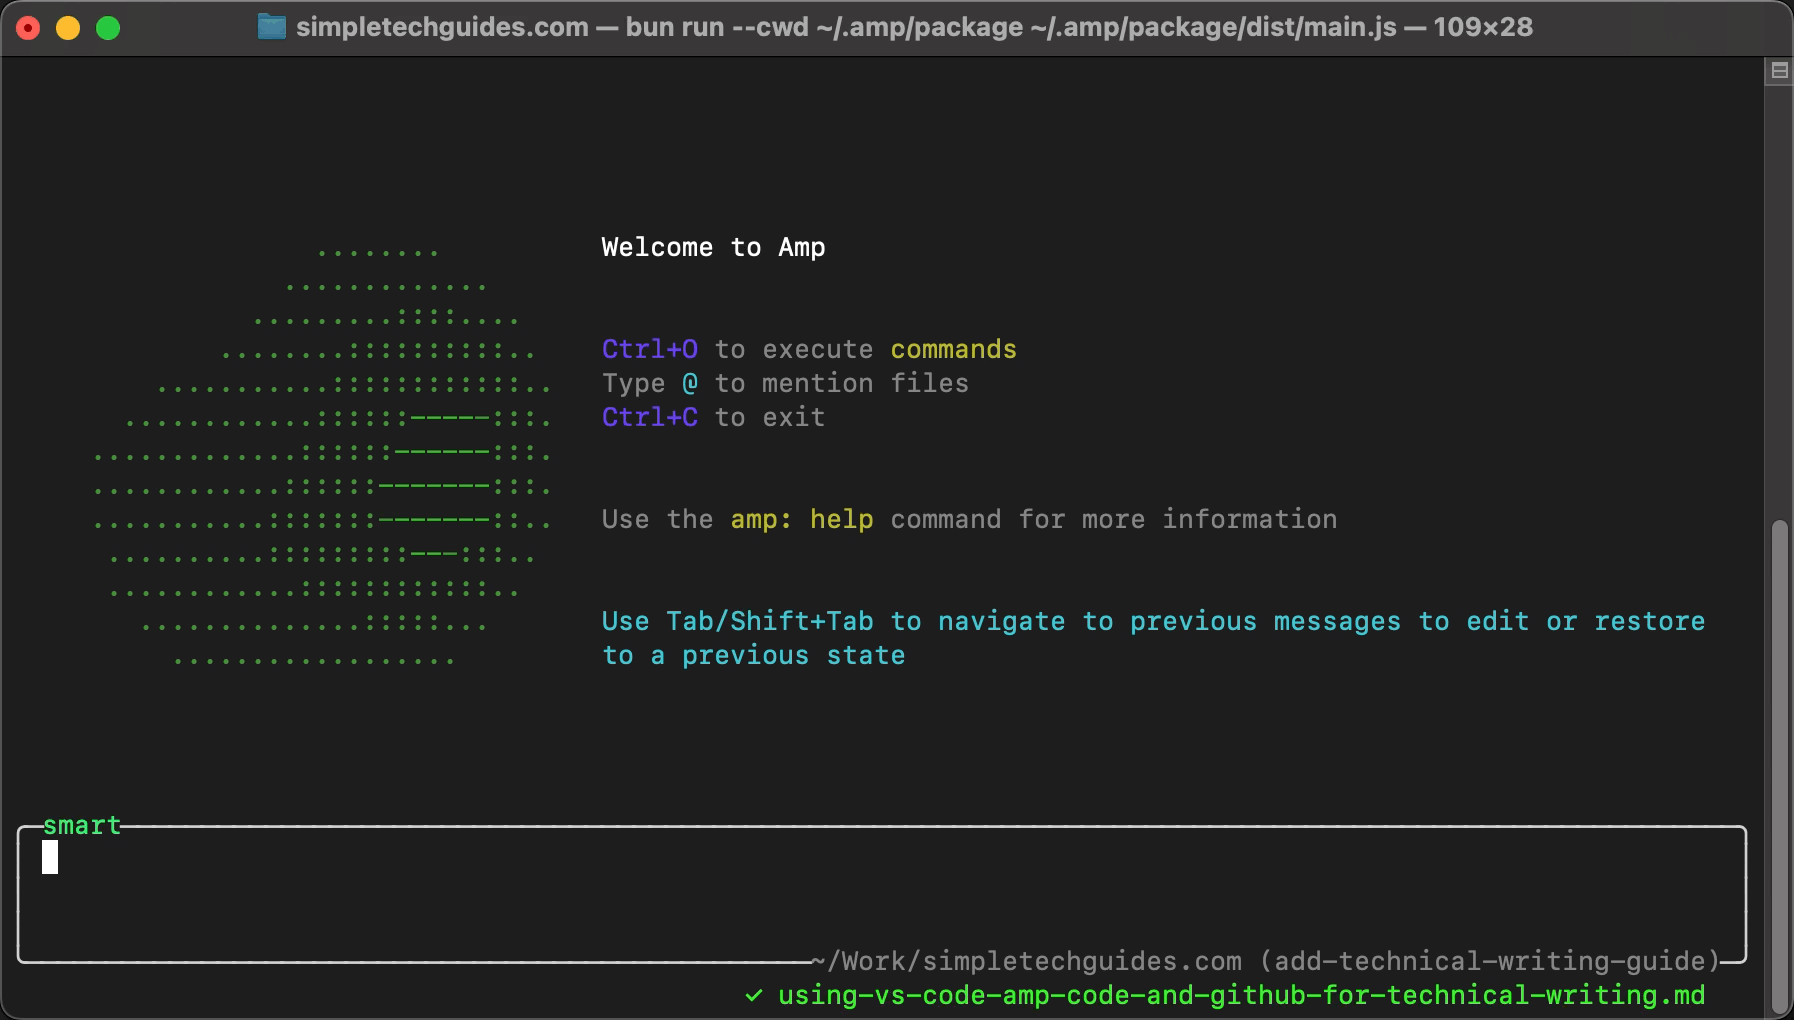
To install the AMP Code CLI, run the following in your Terminal: curl -fsSL https://ampcode.com/install.sh | bash.
You can then start an instance by running: amp in the terminal. This will start AMP in the current working directory and it will be able to interact with any contained files.
Once it has launched, press / and type free; then select mode: use free from the provided options by hitting Enter.
AMP Code VS Code extension
You can get to the Extensions Marketplace in VS Code with the keyboard shortcut: Shift + CMD + X. Then, simply search for the required extension - Currently called: "AMP (research Preview)".
Once it is downloaded and installed, it will prompt you to log in and then can begin prompting away. Make sure to switch to the "free" tier or it will ask for monies. It will also make autocomplete suggestions that you can accept or reject as you code or write.
Writing
You now have all the tools you need to do your technical writing. Now for the hard part, how to write good? Well, that's a lifelong pursuit but this guide is a great place to start.